
How To:
Resizing Images Smaller
If you want to retain the QUALITY of an image, it's important that you resize it correctly when making it smaller. (NOTE: Although it's possible to make an image larger, you'll almost always have a 'fuzzy' image -- so it's not advised that you do so.)
There's a mathematical reason for doing it this way, but it's too complicated to bother explaining! So just believe me when I say you'll get the best results if you proceed using the following instructions.
Instructions
It's helpful if you know WHERE your image has been saved prior to beginning this process! It will save you a lot of time and trouble hunting for the image. Make a note of where it's located so you can refer to it when needed.
1. Go to your computer and OPEN Jasc Paint Shop Pro 9.
This can be done several ways:
You can double-click the PSP9 icon on your desktop.

Or you can go to the taskbar, go to Desktop (in the bottom right-hand corner) and click the two arrows ( >> ) to bring up a list of icons. Click the PSP9 icon.
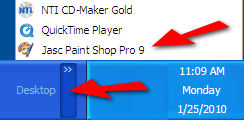
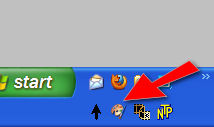
Or you can go to your Quick Launch toolbar on the taskbar (the lower left-hand corner, near the Start button). Locate and click (one time) the PSP9 icon.
Or you can click Start and click All Programs. Find the Jasc Software folder and highlight it. Click the icon.
2. Once Paint Shop Pro 9 has loaded, you need to Open the image you'll be resizing. There are several ways to do this:
Go to File and click Open.
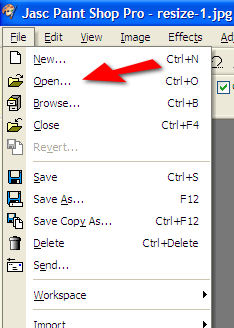
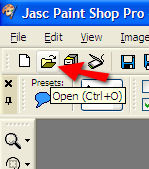
Or click the Open icon on the Standard toolbar.
(You can also use Browse on the Standard toolbar -- keep the Find tab selected and navigate to the proper location. Browse automatically displays pictures of each image.)
The Open window will now display (unless you use the Browse method).
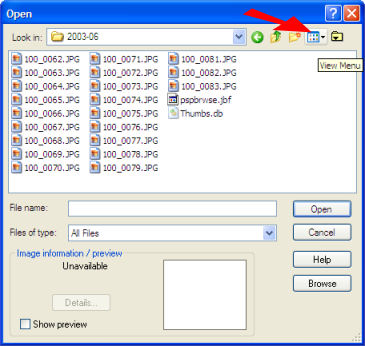
3. Click the View Menu icon (when you hover a popup will display the icon name).
4. Click Thumbnails.
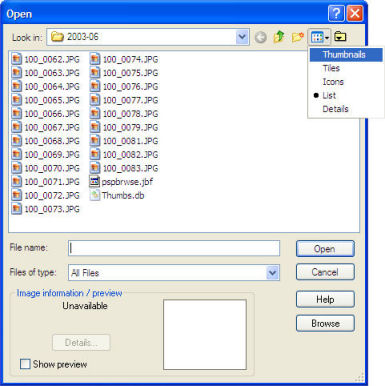
You'll now see pictures of the images that are available.
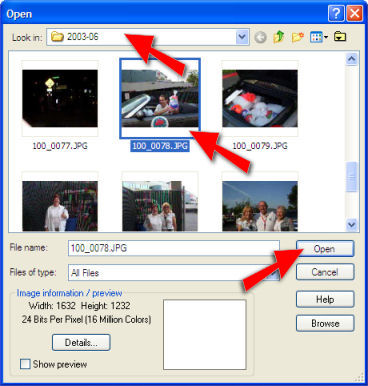
5. Go to Look in: and click the drop-down arrow [ v ] to navigate to the proper folder. [see above]
6. When you find the image you want to resize, highlight it and click the Open button. (Or double-click the image to open.) [see above]
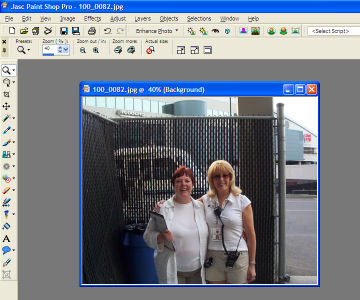
Now that your image is open, it's time to resize!
7. Go to Image, Resize.
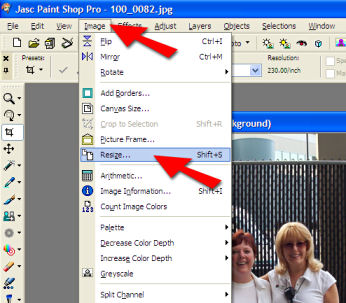
The Resize window will now display.
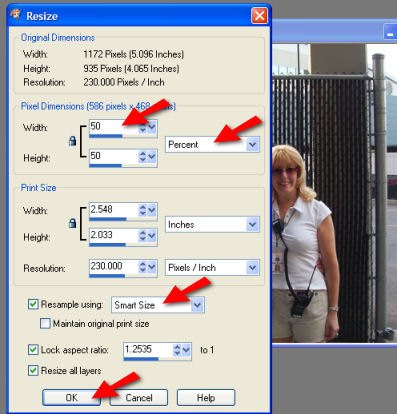
8. Change the following settings:
Under Pixel Dimensions, use the drop-down arrow [ v ] to select Percent (it might already be selected). [see above]
Under Pixel Dimensions, use the drop-down arrow [ v ] to select the width, which MUST be 50 (it might already be selected). For mathematical reasons, this needs to be exactly half (50%). This is the most important aspect of keeping IMAGE QUALITY when resizing. [see above]
Be SURE that Resample using: Smart Size is selected. If not, use the drop-down arrow [ v ] to select it. [see above]
You can leave the other settings to the default. [see above]
9. Once you've changed the settings, you can click the OK button. [see above]
IMPORTANT NOTE: In most cases, you'll need to resize an image several times to bring it to a reasonable size for use at the website, in PowerPoint presentations, for embedding in an email, etc. Your goal should be to get the image CLOSE to 600 x 600 pixels size. To do this, repeat STEP 7 (you won't need to do step 8) and step 9 as many times as necessary.
Now it's time to SAVE the resized image!
10. IMPORTANT NOTE: Be sure you follow this step carefully -- otherwise you might SAVE OVER the original image. That would be a BAD thing. Go to File and click Save As.... (Or you can press the F12 key on your keyboard.) It's really, really, really important you're using Save As... -- and not just Save!
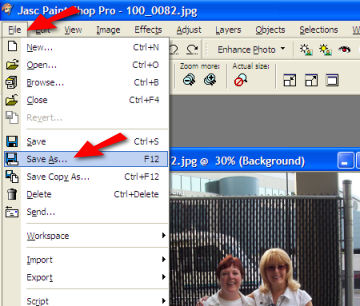
The Save As window will now open.
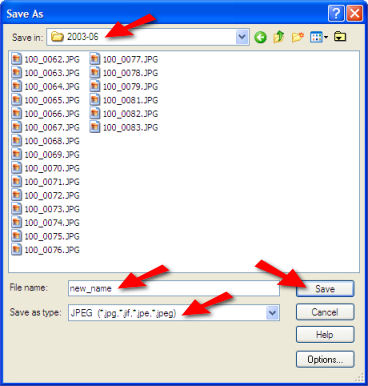
11. If necessary, use the drop-down arrow [ v ] in the Save in: area to select the FOLDER you wish to save to. [see above]
12. IMPORTANT: In the File name: area, TYPE in your new image name.
Never leave SPACES in an image name. Please replace spaces with an underscore or a hyphen (dash) between words -- OR capitalize different words:
Mayor_Harry_1.jpg
GeorgianaPittock1.jpg
grand-floral-parade-float-12.jpg
13. In the Save as type: area, check to see that JPEG is selected. (Ask me if you need to save in another format, please. GIF images should be EXPORTED, in place of saving.)
14. The final step is to click the Save button.
Congratulations, YOU did it!
Questions??? You can email or call me. Be sure to reference the number of the step you need help with, thanks.